Plug Scoopy into USB power
Use a USB-C cable and any normal USB power source. Scoopy will boot automatically.
If it has not been connected to Wi-Fi before, the middle red LED gently pulses. That means Scoopy is ready for setup.
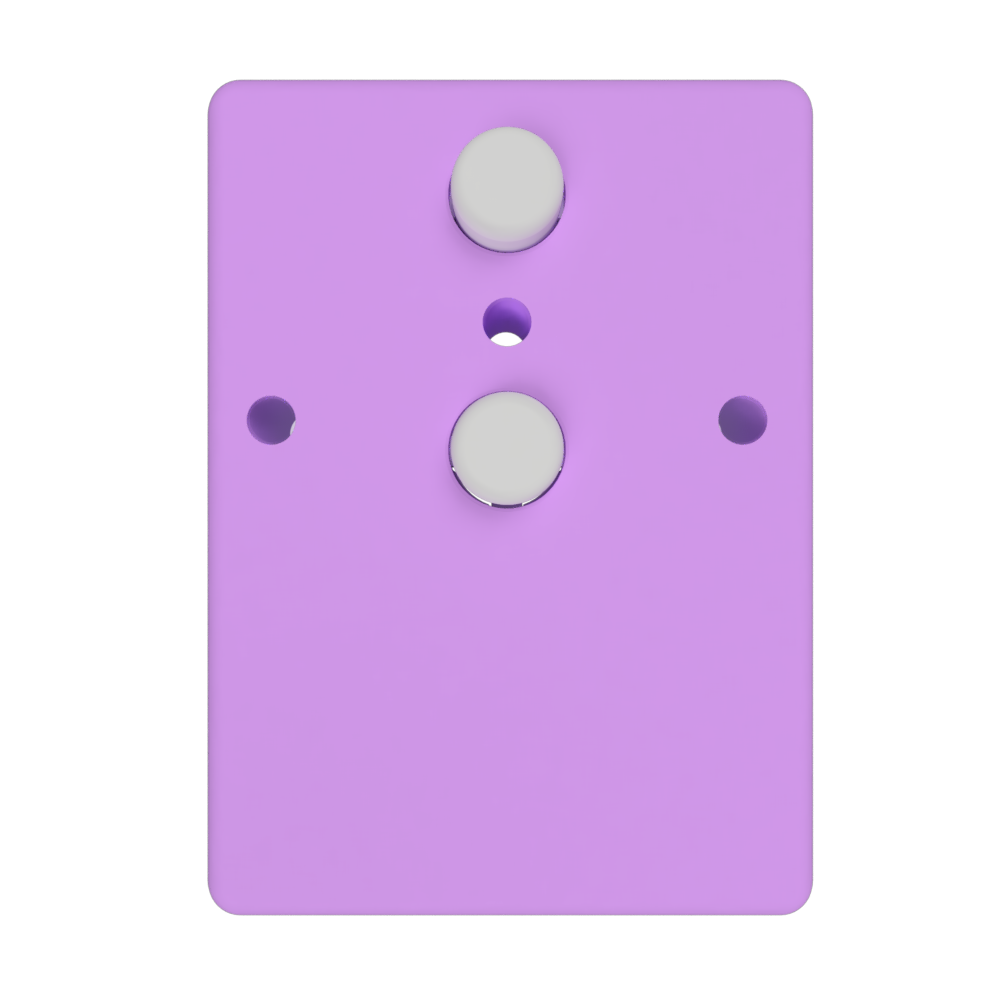
HELLO, SCOOPY.
You’ll be up and running in a jiffy. Plug Scoopy in, give it your Wi-Fi details, then add it to Home Assistant.
01 · GET SCOOPY ONLINE
When Scoopy has no saved Wi-Fi network, it automatically creates its own temporary setup network.
Use a USB-C cable and any normal USB power source. Scoopy will boot automatically.
If it has not been connected to Wi-Fi before, the middle red LED gently pulses. That means Scoopy is ready for setup.

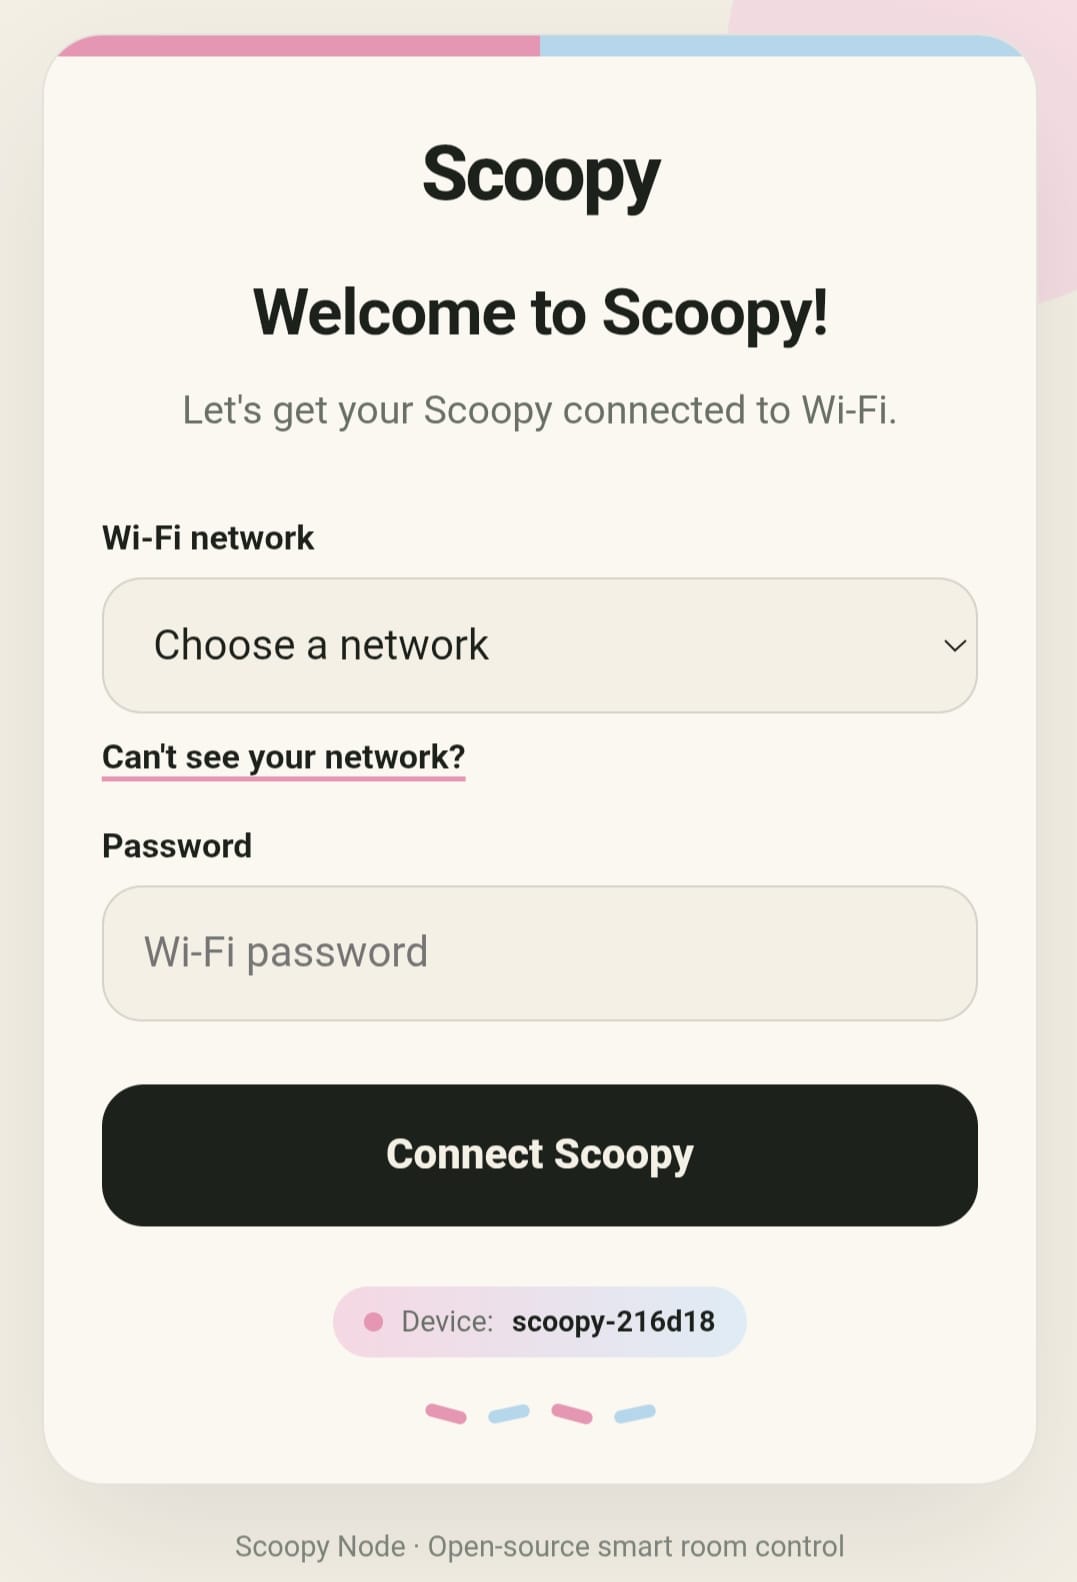
On your phone, tablet or computer, open Wi-Fi settings and connect to a network named scoopy-XXXXXX.
The final six characters are unique to your Scoopy, so yours might look like scoopy-216d18.
The setup page should open automatically after you connect to Scoopy’s Wi-Fi network. If nothing appears, open a browser and go to http://192.168.4.1/.
Select your home network, enter its Wi-Fi password, then press Connect Scoopy.
Scoopy saves those details and joins your normal home network.
Once the connection succeeds, the setup page should normally close by itself and your phone or computer can return to its usual Wi-Fi network.
The middle red setup LED turns off when Scoopy is connected.
WI-FI CHECK
Captive portals can behave slightly differently between phones and computers. These checks fix most setup hiccups.
Make sure your device is connected to scoopy-XXXXXX, not your normal home Wi-Fi.
Visit http://192.168.4.1/ in your browser while you are still connected to Scoopy.
The Scoopy setup network is local only, so your phone may warn that it has no internet connection. That is expected.
02 · ADD IT TO HOME ASSISTANT
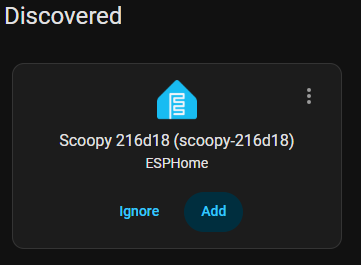
Once Scoopy is on your home Wi-Fi, ESPHome discovery should make it appear in Home Assistant automatically.
Open Home Assistant and look for the newly discovered ESPHome device. You may see it as a discovery card, or under Settings → Devices & services.
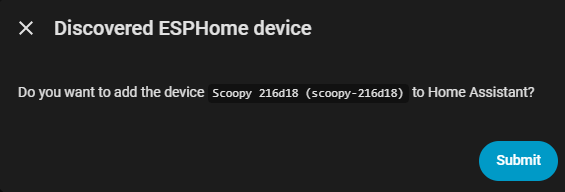
Home Assistant asks for a quick confirmation before adding the device. Press Submit.
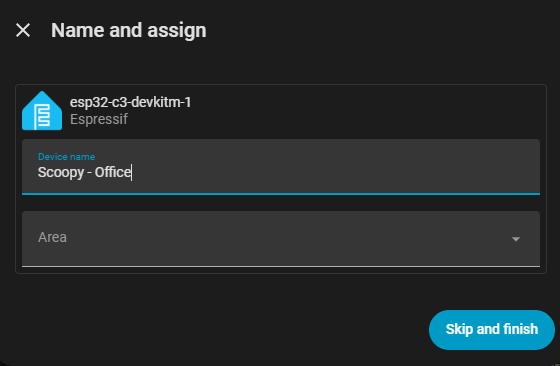
Name it for where it lives — for example Scoopy - Office — and assign it to a Home Assistant area if you want to.
03 · MAKE IT YOURS
Scoopy exposes simple controls and events you can use in dashboards and automations. The Presence version adds its mmWave sensors too.
Each PWM LED appears as its own light entity, so you can switch it on or off and choose the brightness directly from Home Assistant.

Button events report single, double and hold presses, ready to use as separate triggers in Home Assistant automations.

Open an LED entity to set its brightness or choose one of Scoopy’s built-in pulse, flash and alert effects.


On Scoopy + Presence you’ll see moving target, presence and still target sensors from the mmWave module. On a standard Scoopy without the radar, these sensor entities may show Unknown — that’s expected and they can simply be ignored.

MOVING HOUSE? CHANGING WI-FI?
You do not need to reflash anything. A factory reset clears Scoopy’s saved Wi-Fi details and returns it to setup mode using the two physical buttons.
Press and hold both physical buttons together for 10 seconds.
During the final part of the hold, the middle red LED flashes quickly to warn that a factory reset is about to happen.
Scoopy clears its Wi-Fi credentials, the red LED begins pulsing again, and the scoopy-XXXXXX setup network returns.
NEED MORE HELP?
More troubleshooting and support links will live here as the documentation grows. For now, the open-source project files and firmware are available on GitHub.
Open the Scoopy repository →A SMALL TECHNICAL NOTE
Scoopy uses ESPHome’s local Wi-Fi setup flow. Your Wi-Fi details are sent directly to the Scoopy you are connected to — there is no Scoopy cloud account involved in onboarding.